A Look Inside My Apple HomeKit + Aqara Smart Home Setup
Alright, folks, today we’re diving into something a lot of you have been asking about—smart homes! And what better way to do that than by walking you through my own setup? Yep, I went all-in with the Aqara whole-home smart system. Here’s why:
- Our place came with a snazzy pre-finished interior, which means no way to run wires through the walls—so, wireless it is!
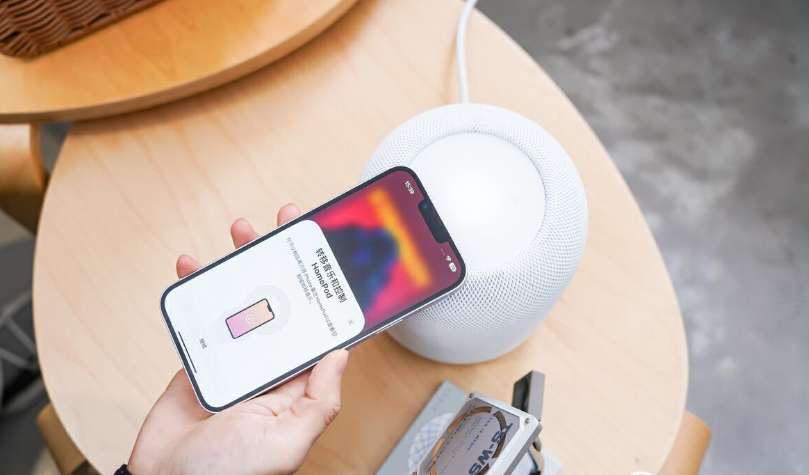
- I’m deeply embedded in the Apple ecosystem. HomeKit just makes sense for me. And let’s be real, in China, Aqara’s got the best HomeKit game in town—tons of supported products across the board.
To keep things simple (and trust me, you want simple when it comes to this stuff), we picked up Aqara’s full package at one of their stores. They hooked us up with a custom plan based on our floor plan and preferences. They covered everything from light switches to sensors, with full installation and setup. Total cost? A cool 49,975 RMB, which is just shy of 5 grand for 46 devices. Yep, I went all out.
After about four months and a handful of installation visits, the system is finally up and running. And let me tell you, it’s pretty darn impressive. Here are some of my favorite automation scenes—no hands required:
- Storage Room: Door opens, lights on. Door closes, lights off.
- Laundry Room: Same deal—door-triggered lighting.
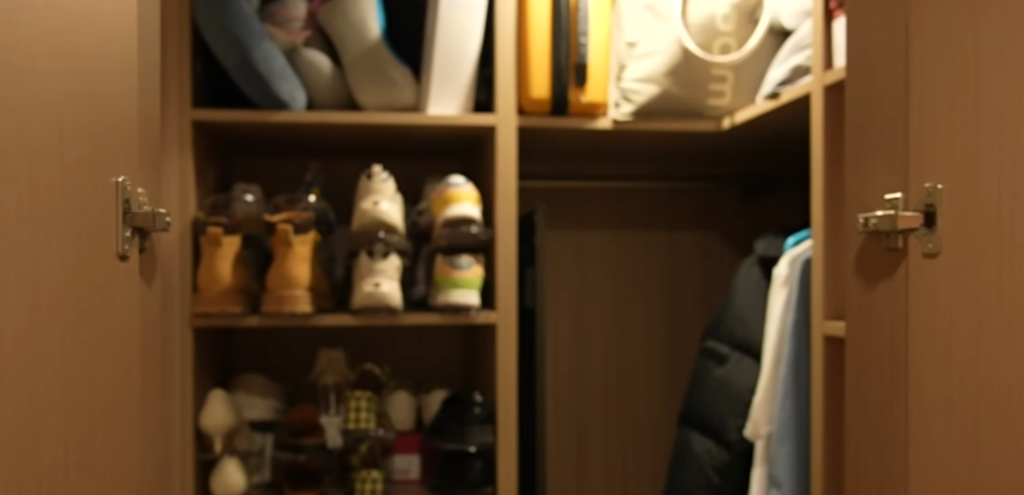
- Walk-In Closet: Motion sensor detects you walking in, lights come on. After a few minutes of no activity, lights off.
- Master Bath: Walk in, the downlights and vanity lights pop on.
- Guest Bathroom: Downlight illuminates when you enter; perfect for those late-night bathroom trips.
- Kitchen: Lights kick on as soon as you walk in during those dark midnight snack runs.
These scenes all run thanks to a combo of motion sensors and smart switches. For the closets and vanities, I used regular motion sensors. In the bathrooms, I went for high-precision ones, and in the kitchen, a presence sensor to keep the lights on as long as someone’s there.
Now, I’ve got to mention the one light in the entryway that’s not on the smart system. It’s just a standalone light that came with the house, and all it needs is for you to open the door.
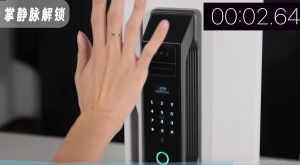
And then there’s the “Welcome Home” mode. If I set the “Away” mode before leaving, the moment I unlock the smart door with my fingerprint, the living room lights come on, the curtains close, and the robot vacuum starts heading back to its dock. The only snag? Our windows open inward, and if we leave one open to air out the place, the curtains can’t close. I’ll probably add a window sensor later so the curtains know to stay put if a window’s open.
Now, for some single-action wonders:
- Entryway: Tap a wireless switch to turn off all the lights when you head out the door.
- Master Bedroom: Each of our bedsides has a wireless switch that shuts off all the lights in the house, except for the bedroom, with one click.
- Bedrooms: Each has a knob—rotate to close the curtains, press and rotate to close the sheers, and tap to turn on the main light.
- Dining Table: Knock twice to enter dining mode—dining room lights up, cabinet lights come on, and the kitchen lights and exhaust fan switch on.
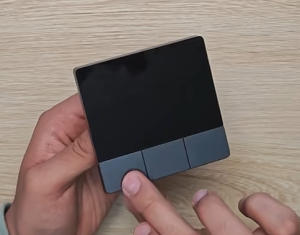
- Living Room: I’ve got a smart cube on the coffee table. Flip it to different sides to switch between movie mode, dining mode, and party mode.


For the “Away” mode, after I lock the door, a little house icon pops up on the smart lock. One tap, and the house goes into energy-saving mode—lights off, and the robot vacuum starts cleaning. I used to have it set up so locking the door automatically activated “Away” mode, but now that I’m married, I don’t want to accidentally leave my wife in the dark with a vacuum cleaner running. Plus, you could even remotely turn on the Tesla’s AC—though I’ve messed that up a few times and had my mom’s car cooling down instead.
I also set up a smart doorbell with a built-in camera. When someone rings it, all the speakers in the house chime, and the video feed pops up on screens throughout the house. You can even check the feed from any of your Apple devices. Way more secure than a regular peephole, and no one’s popping that out to pick your lock.
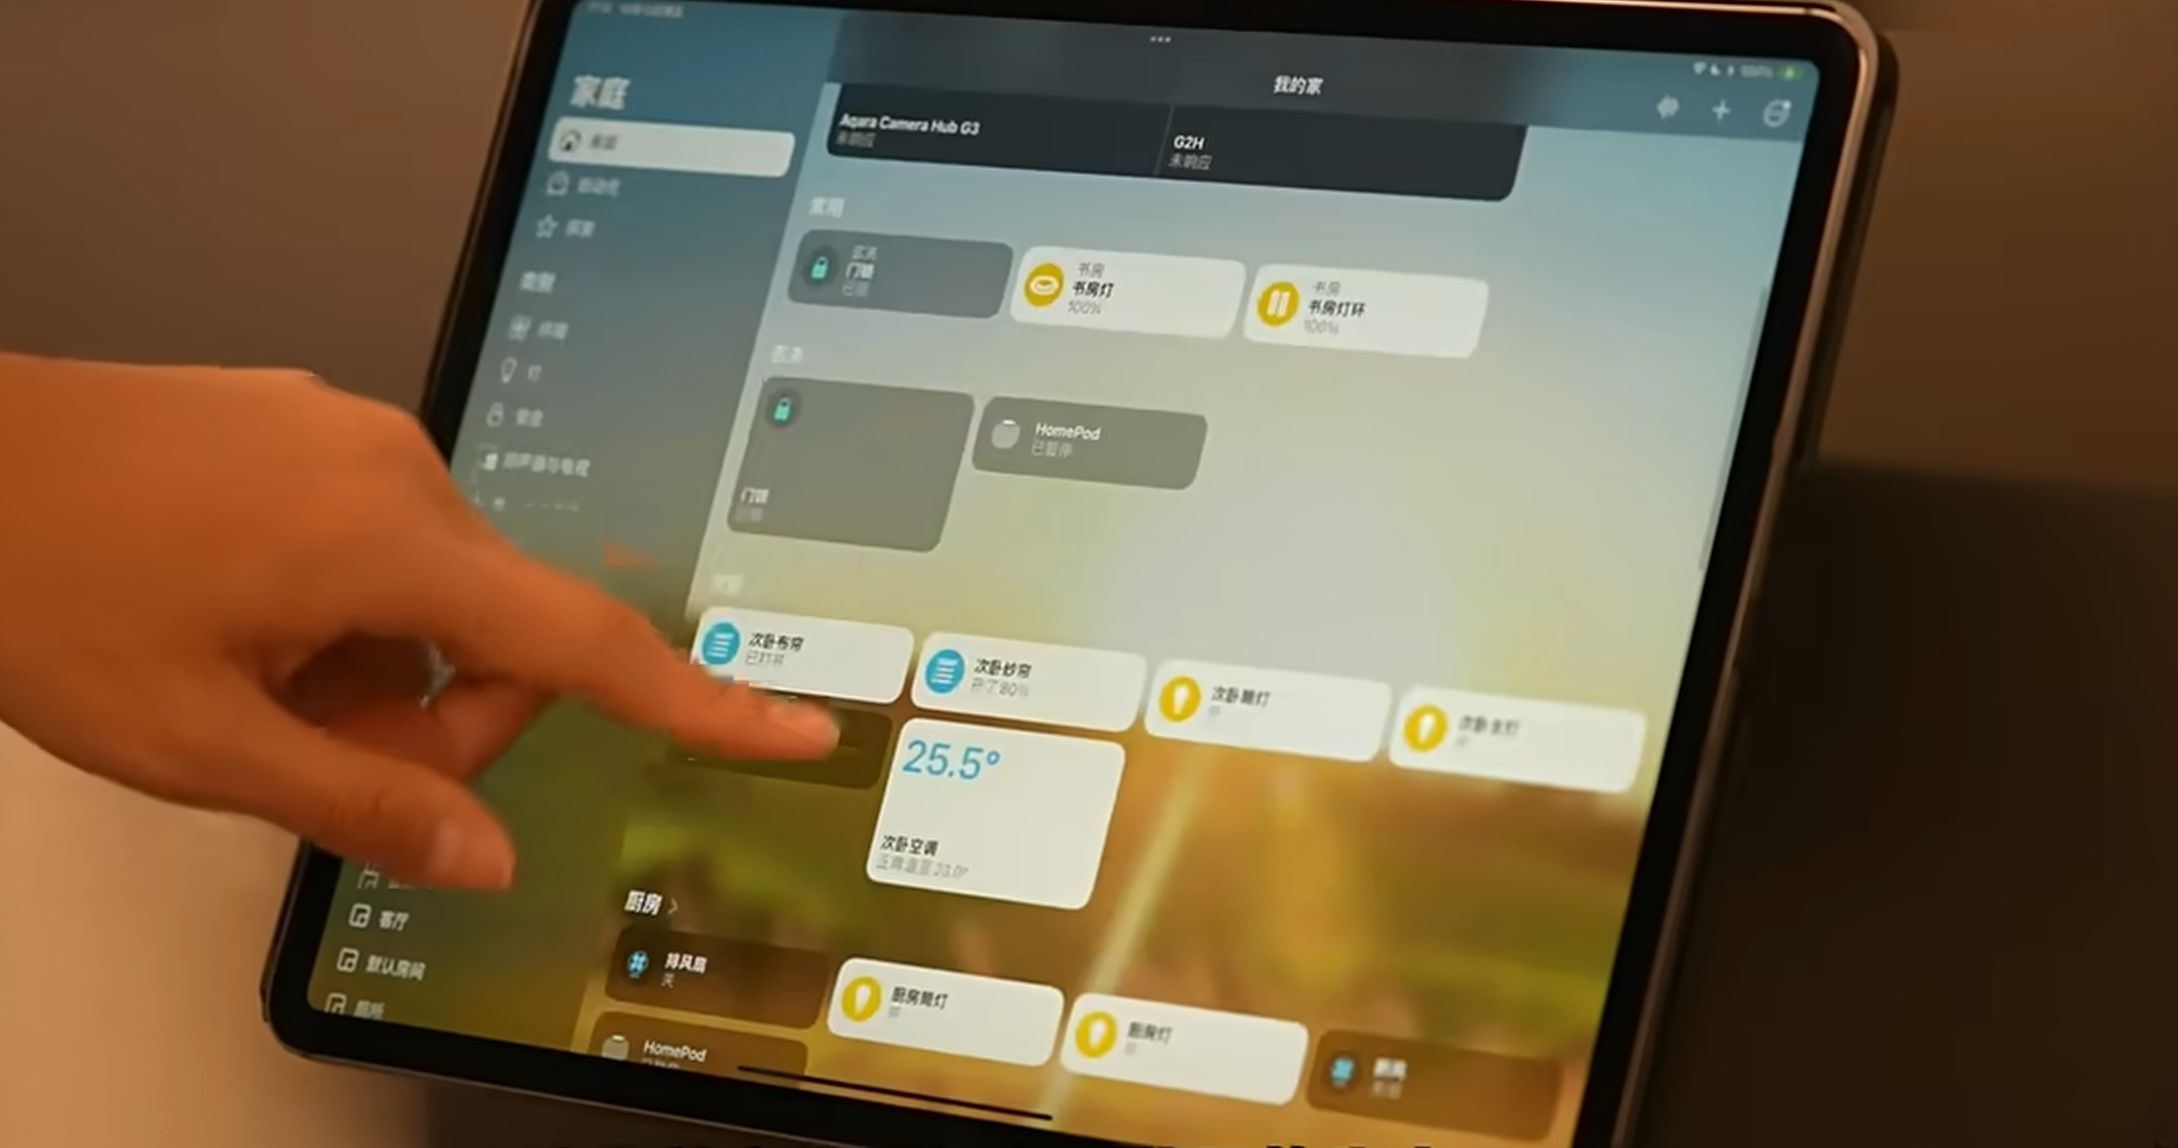
Every device is voice-controlled, but if you’re more of a tapper, I’ve got iPads in key spots for easy access. Plus, my Apple Watch, iPhone, and even Mac can control the whole setup remotely. And if you’re into voice commands, there’s stuff like “Good Morning” and “Good Night” modes:
- Good Morning: Say “Hey Siri, good morning,” and the bed lifts, the lights come on, and my favorite song starts playing.
- Good Night: Say “Hey Siri, good night,” and everything shuts down, curtains close, and the bed goes flat.
I’ve also got sensors everywhere—water sensors under the sinks, temperature sensors, TVOC sensors, you name it. Next up, I’ll be adding a gas sensor and smoke detector in the kitchen to round things out.
So, here’s the bottom line:
This smart home project has been one heck of a ride, but I’ve learned a lot. If you’re thinking about going the HomeKit route like I did, here are a few tips:
- Learn the ropes: Don’t just let the pros set it up—get involved so you can tweak things later on. Trust me, it’ll save you a lot of headaches.
- Patience is key: This stuff is complicated. There are going to be bumps in the road—broken lights, wrong sizes, missing parts, you name it.
- Don’t stress about perfection: Like with any home improvement project, nothing’s ever perfect. Learn to let it go and enjoy what works.
Sure, I’ve had a few hiccups—like the AC partner’s signal getting blocked, HomeKit being moody, and the kitchen sensor mistaking a trash can for a person—but overall, it’s been a blast.
Hope my experience helps those of you looking to dive into HomeKit and whole-home smart setups. If you enjoyed this, don’t forget to hit that like button, leave a comment, and subscribe. See you next time when we dive into smart appliances. Bye!


Post Comment